
Project Description
What is Ray Tracing?
Ray tracing is a rendering technique used in computer graphics to simulate the way light interacts with objects in a scene. It traces the path of rays of light as they travel through a virtual environment, accounting for reflections, refractions, and shadows. Ray tracing is computationally demanding, but is used widely in fields like CGI for film, video game graphics, and architectural visualization.
The Project
This project was based off of the textbook Ray Tracing in One Weekend by Peter Shirley.
The textbook guides you through the implementation of a simple ray tracer in C++. The ray tracer generates PPM (Portable Pixel Map) image files .png versions of which you're seeing
on this page.
I started this project in my third week of learning the Rust programming language. This was meant to be an exercise to get more familiar with
Rust, try my hand at porting code from one language to another, and to learn some basics of ray tracing. I took a week to go through the book and port each chapter to Rust code. I really enjoyed getting to see progress with each chapter I got through:
what started as a blue-to-white gradient image eventually turned into multiple spheres of various materials and sizes.
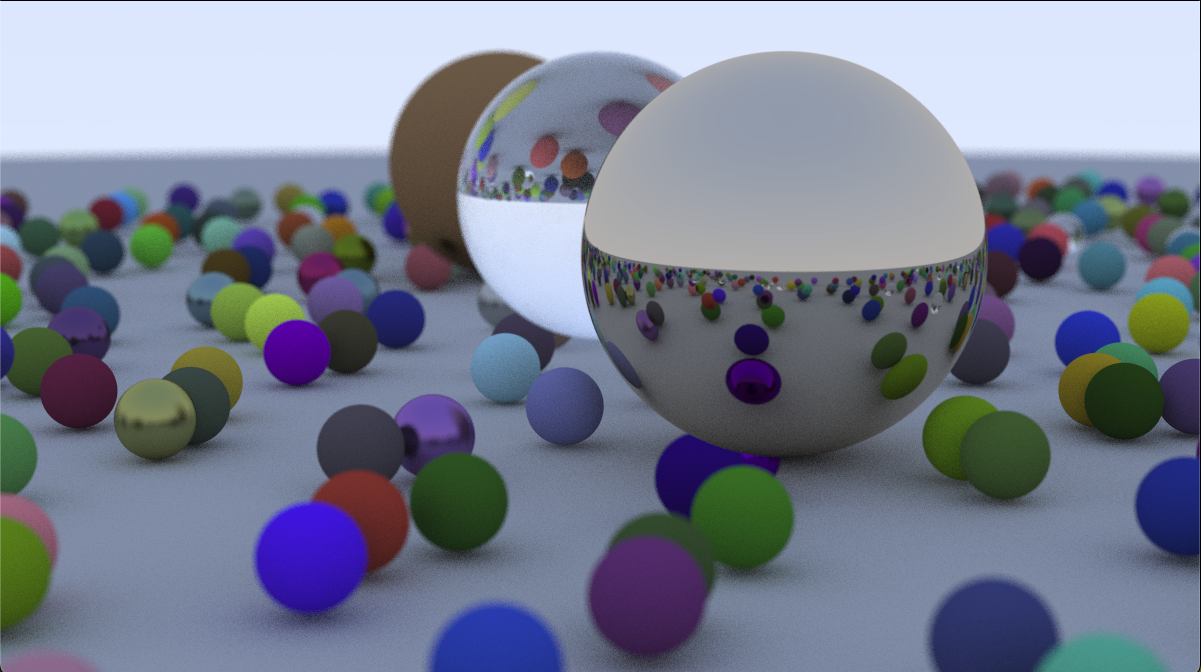
Project Process
Drawing the first shapes
First steps: generate a gradient white-to-blue sky background, communicate to the ray tracer the position of a sphere based on it’s center, display different colours across the surface of the sphere based on the normal.


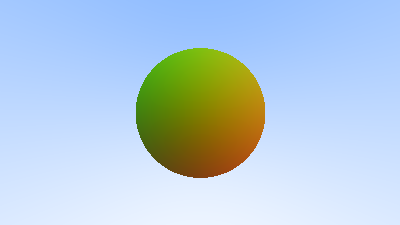
Then, we add a "ground" and an antialiasing effect (check the second image, it's much smoother than the first) by taking random samples nearby a generated pixel. Note that I adjusted the base colours, but the gradient you see in both the sphere and the ground is still based on the surface normals of the shape:
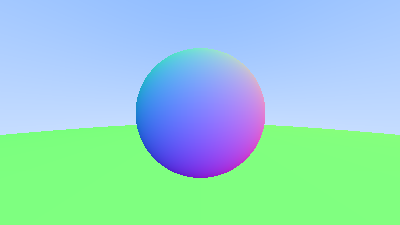

Materials
Some of the next steps involved defining different materials in code and getting to see how the rays interacted
with the environment. The three materials covered in the textbook are Lambertian, Metal, and Dielectric.
A Lambertian material
is diffuse and scatters light evenly in all directions. Its appearance is matte and is commonly used
for simulating surfaces like paper. Here is how this looks on my spheres:
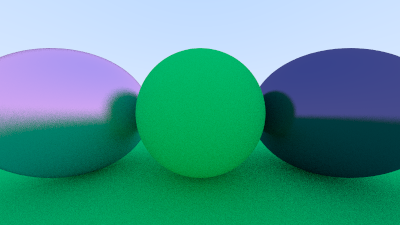
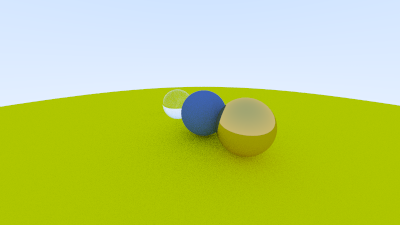
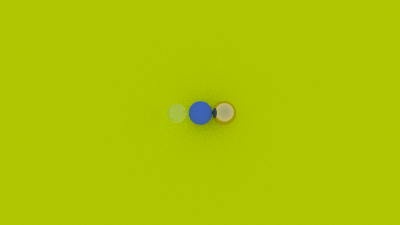
Metal, in this context, is opaque and reflective. An extra parameter was added to this material in the code that affects the smoothness or "fuzz" of the metal, resulting in spheres with varying reflective sharpness.

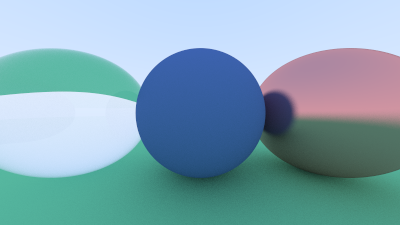
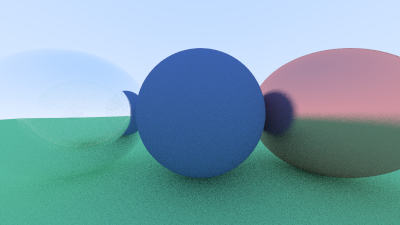
A Dielectric material is insulating, or a poor conductor of electric current. In ray tracing, though, dielectrics often refer to transparent materials such as glass. They both reflect and refract light- below are two examples. One sphere flips the reflections of its surroundings upside down within itself, and the other is clear.
Positionable camera
I'm not going to attempt explaining this one. But, here are the results:
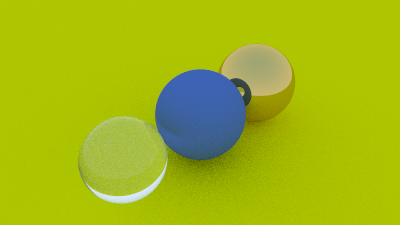
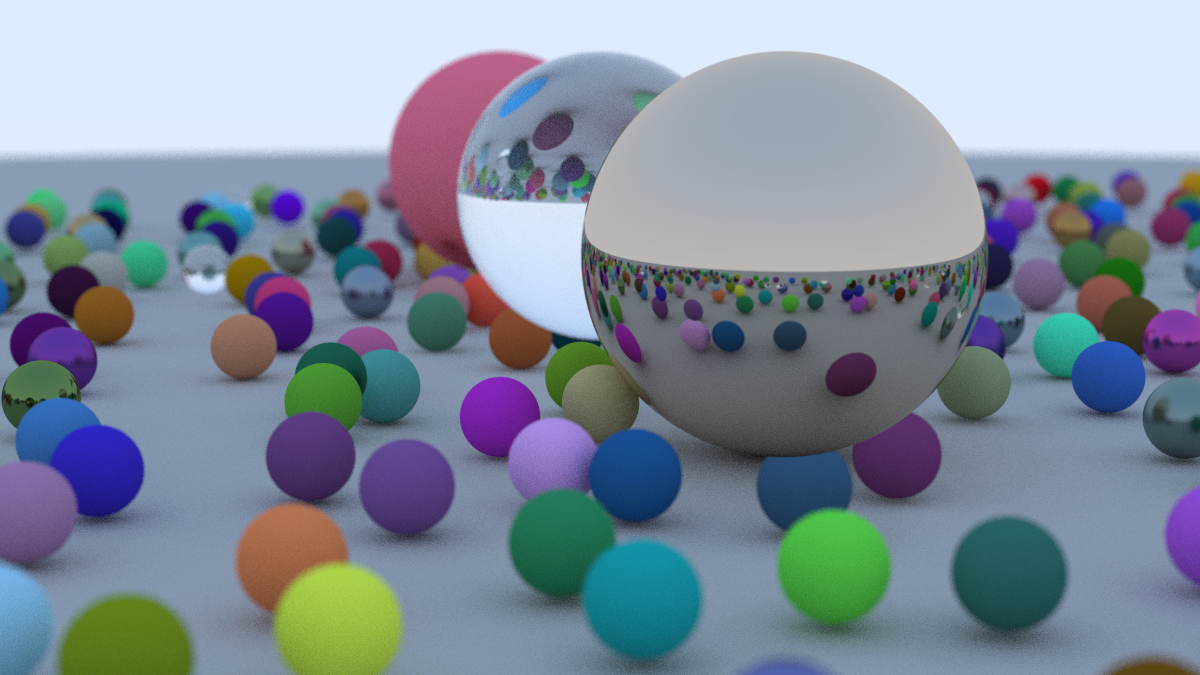
And a final rendering, bringing all the elements together:
Project Reflection
I gained a solid understanding of the basic principles of ray tracing, including how rays are traced through a 3D scene, ray-object intersection testing, and how to compute lighting interactions. I also got to learn some mathematical concepts related to computer graphics, such as vector operations, transformations, and geometry in the context of ray tracing. The biggest challenge was reading the book in one programming language and trying to implement it in another, but it really helped me feel more confident writing in Rust.